


Part II - Preparing To Start The Build
I've been undecided about various elements of the build and after much dithering, I have made some very important decisions.
I wasn't sure whether to make the main frames using a hardwood or softwood. I have now decided on a softwood - a premium Scandinavian Redwood. As previously mentioned, I am making the model to a scale of 1:15 - this is purely for working space and where the model is going to live once it's completed.
Another part of my dithering was construction; whether to craft traditional joints or not. I have now decided to craft most of the joints using traditional methods - albeit on a much smaller scale - indeed, very fiddly. Most of the structural joints will be a variety from the draw/bore mortice & tenon family. I was also undecided with the King Post arrangement. I have now changed this slightly too. In all, there are over 180 traditional joints to make in the five frames with many other joints to follow. I shall be more detailed on these as and when I get going.
I have also found several suppliers I didn't know existed! One in particular, is a company who make all the masonry components required in a scale model build, from the common house brick to a ridge tile - truly astonishing! The bricks are actual bricks, made from brick material - clay, sand, lime etc. The same applies to other materials including flag stones, roofing tiles, ceramics and the list goes on. I was blown away by what these guys make. I will however, make the roofing tiles from 2.4mm oak construction veneer I already have in stock. This might be as a shingled roof or I might paint them to replicate a tiled roof - dunno. I might make the bricks and stone floor coverings as well.
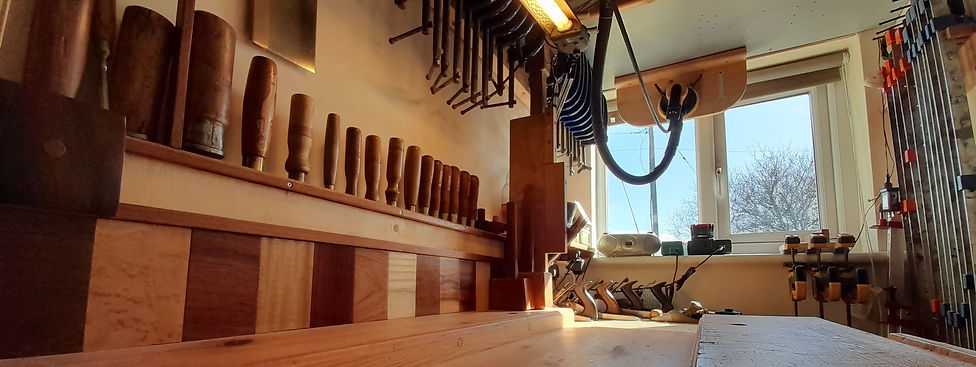
Anyway, not much to see in this post, but here are a few photos including the small hobby workshop which I fitted out during April 2020. It is now good-to-go with the start of making this wonderful model build.


Here is the footprint base cut from 18mm WBP plywood.

The 25x25 PSE Scandinavian Redwood replicating the oak framework.

The Workshop Drawings

The Complete Frame

Front Frame
(excluding Braces, 125mm Jack & Common Studs)

Rear Frame
(excluding Braces, 125mm Jack & Common Studs)

Inner Frame x 3No
This is the Workshop Rod drawn onto the workshop wall for marking-up
all the components - although not very clear in the photo.

If you are still gripped by this amazing project, the link below will speedily take you to Part III.
Part III - Setting Out & Marking Up